Ready to ditch the basic Valentine's Day manicure and embrace a trend that's both romantic and effortlessly chic? Ombre nails are the perfect blend of sophisticated and fun, and we're here to guide you through creating several stunning designs, from beginner-friendly to more advanced techniques. Whether you're picturing a sunset stroll on the beach or a night out with your loved one, there's an ombre nail design to match your Valentine's Day mood. Let's get started!
Classic Red & Pink Ombre: A Sunset Love Story
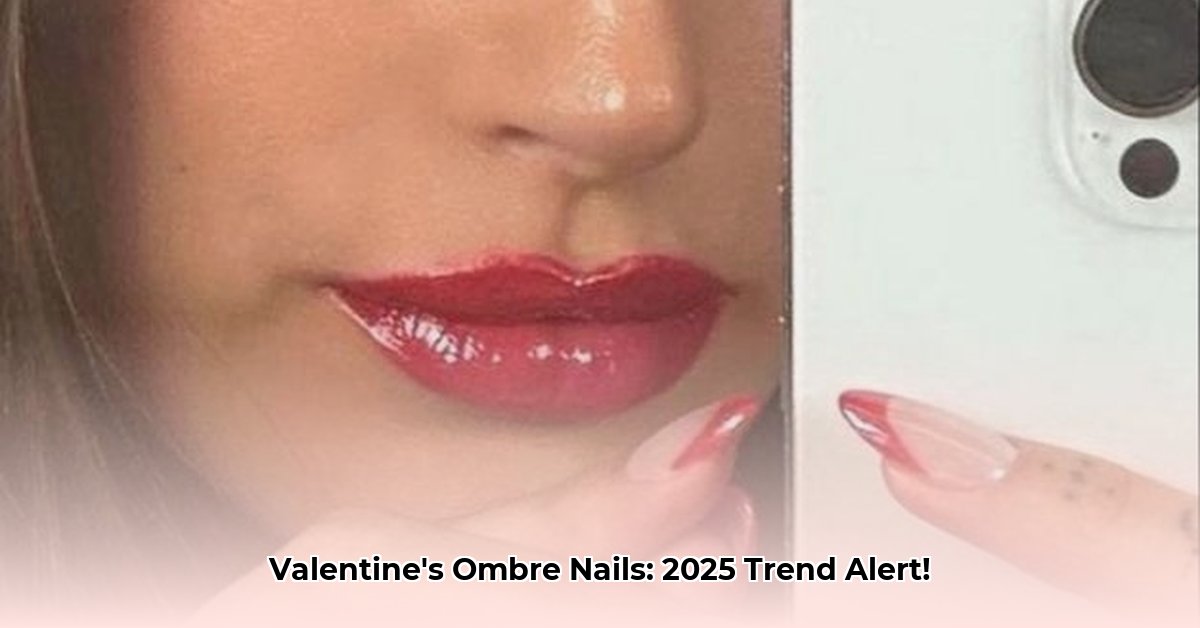
This design captures the essence of a romantic sunset – a timeless choice that's surprisingly easy to achieve. Think soft blushes melting into rich, deep roses, a perfect reflection of a loving Valentine's Day.
What You'll Need:
- Base coat (protects your nails and improves polish adhesion)
- Two shades of pink nail polish: one light (e.g., blush), one dark (e.g., deep rose)
- Top coat (for a glossy, long-lasting shine)
- Small makeup sponge (the type used for applying makeup)
- Nail polish remover (for those inevitable little mistakes)
Step-by-Step Instructions:
- Prep: Apply a base coat to each nail and let it dry completely. This ensures a smooth, even finish and prevents staining.
- Base Color: Paint your nails with the lighter pink polish. Allow it to dry thoroughly before proceeding to the next step.
- Blending Magic: Dab your sponge into the darker pink polish. Gently dab the sponge onto the tips of your nails, blending upwards towards the cuticle. Multiple light dabs achieve a gradual fade.
- Clean Up: Use a thin brush dipped in nail polish remover to carefully remove any polish that spills onto your skin.
- Finishing Touch: Apply a top coat for shine and durability, protecting your beautiful ombre from chipping.
Variations: Experiment with different shades of red and pink. Add glitter to the tips for extra sparkle. A three-shade gradient creates a more complex and intriguing effect. Did you know that using a slightly damp sponge can create a softer, more diffused ombre?
Flirty Fuchsia & Rose Gold Ombre: A Modern Romance
This design is all about playful energy and modern vibes – think a Valentine’s date filled with laughter and fun! The vibrant fuchsia paired with shimmering rose gold creates a striking yet balanced look.
What You’ll Need:
- Base coat
- Fuchsia nail polish (a bold, vibrant pink)
- Rose gold nail polish (adds metallic glamour)
- Small makeup sponge
- Top coat
Step-by-Step:
Follow steps 1-5 from the Classic Red & Pink Ombre design, substituting fuchsia for the lighter pink and rose gold for the darker pink. The blending technique remains the same.
Variations: Instead of rose gold, explore other metallics like silver, copper, or bronze for a unique twist. Adding tiny hearts or a glitter accent can elevate the design even further.
Subtle Mauve & Nude Ombre: Effortless Elegance
Sometimes, less is more. This understated design exudes sophistication and elegance—perfect for a romantic dinner or a more relaxed Valentine's celebration.
What You'll Need:
- Base coat
- Light mauve nail polish (a soft, muted purple)
- Nude nail polish (a neutral shade complementing your skin tone)
- Small makeup sponge
- Top coat
Step-by-Step:
- Apply a base coat.
- Paint your nails with the nude polish. Let it dry thoroughly.
- Gently blend the mauve onto the tips using the sponge, creating a delicate ombre effect.
- Apply a top coat.
Variations: Explore a milk bath ombre using different shades of white and ivory for a uniquely romantic, dreamy appearance.
Advanced: Heart-Shaped Ombre with Glitter Accent
Ready for a challenge? This design adds a playful touch of whimsy and sparkle to your Valentine’s Day look. The combination of ombre and heart accents creates a truly captivating manicure.
What You’ll Need:
- Base coat
- Red or pink polishes (at least two shades)
- Glitter nail polish
- Thin striping brush or dotting tool
- Top coat
Step-by-Step:
- Create the ombre base using your chosen colors (following previous instructions).
- Once dry, use the thin brush to carefully paint small hearts at the base of each nail. Precision is key here.
- Fill in the hearts with glitter polish.
- Apply a top coat.
Variations: Experiment with different shapes like bows or stars. Try varied glitter colors and sizes for a unique design. Don't be afraid to experiment! The more you practice, the more creative and confident you'll become.
Remember, practice makes perfect! Don't be afraid to experiment with colors and techniques to create your own unique Valentine's Day ombre masterpieces. Happy painting!